Saturday, October 4, 2014

Iceland (Part One)

(Side note: I actually visited Iceland February 2013, so this post has been a long time coming, but better late than never, right???  Right? ;) )

I distinctly remember a grade school teacher declaring that, despite their names, Iceland is actually green and Greenland is actually icy.

Let me tell you kids... that statement may be true generically, but Iceland is also icy, especially during winter.  For example:


See?  Waterfall iced over with ice... and nothing but snow (and more ice) around me, as well as a white, snowy sky.

Now, the main reason I decided to visit Iceland was to see the Northern Lights.  Immediately upon arrival, however, I quickly learned that Iceland has such a fascinating and quirky culture, and despite the efforts made to see the Northern Lights, what I remember most from the trip was not standing on the side of a road in Northern Iceland during a freezing cold pitch-black night... but rather all the other experiences I stumbled upon.  From the Phallological museum, to the steel Viking ship sculptures, to the incredible food, to the fact that beer was legalized in 1989, to the mysteries of the natural baths... SO MUCH quirkiness!  I fell in love.  So much so that I know I will go back, but maybe this time during the summer months where it is warmer...

Without further ado, here is Part One of my incredible trip. 

So, first off, Iceland is a short five hour flight from JFK.  Icelandair is actually a really cool airline, the stewardesses wear these smart caps, and they are all blonde and gorgeous. The airport at Keflavik (which is near the main city of Reykjavik) is actually a good 45 minutes outside of Reykjavik, so plan on it taking some time...  and costing a lot if you take a cab.  Instead, book a bus transfer - trust me!!!

Now that the helpful "info" part is out of the way, back to the quirky stuff that made me fall in love with Iceland...

***Warning before we go too far in this post:  SENSITIVE, ADULT material is discussed.  If you read on, you are agreeing to potentially have your sensibilities and eyes offended.  You are not allowed to hold me responsible.***

Reykjavik, Iceland is home to the only known Phallological museum in the world.  A museum dedicated to penises.  Seriously, y'all.  No kidding.  And for only 1,000 kroners (which was roughly 8 USD at the time), you too can view over 100 pickled penises from various species.  (No animals were harmed in the making of the penis museum... their appendages were taken after their death).  Naturally, I took a picture next to the largest penis in the world, a whale's penis.

Yes.  That is a whale's penis.  And it's almost as tall as I am (I'm 5'6")
The other crazy things I found at the penis, err sorry, Phallological Museum?  Not only did I see a whale's penis, but I saw penises for cats, foxes, horses, and a human. I'm not kidding.  A HUMAN  donated his penis WHILE HE WAS STILL ALIVE.  CRAZY CRAZY CRAZY.  They had a copy of the legal document he signed acknowledging the donation, and he even took a portrait of himself naked, before the donation...

Not for children!!
Yeah.  So that was my first experience in Iceland.  Off to a good start!

The rest of the afternoon I spent walking around Reykjavik, which is the capital of Iceland, and boasts stunning scenery:

Me standing in front of Esja
 As well as phenomenal sculpture:

Vikings in a boat!!!
And unique churches...

The highest point in Reykjavik - the Lutheran church!
As well as fabulous food... this bagel sticks in my mind as one of the most delicious bagels I've ever had in my life...

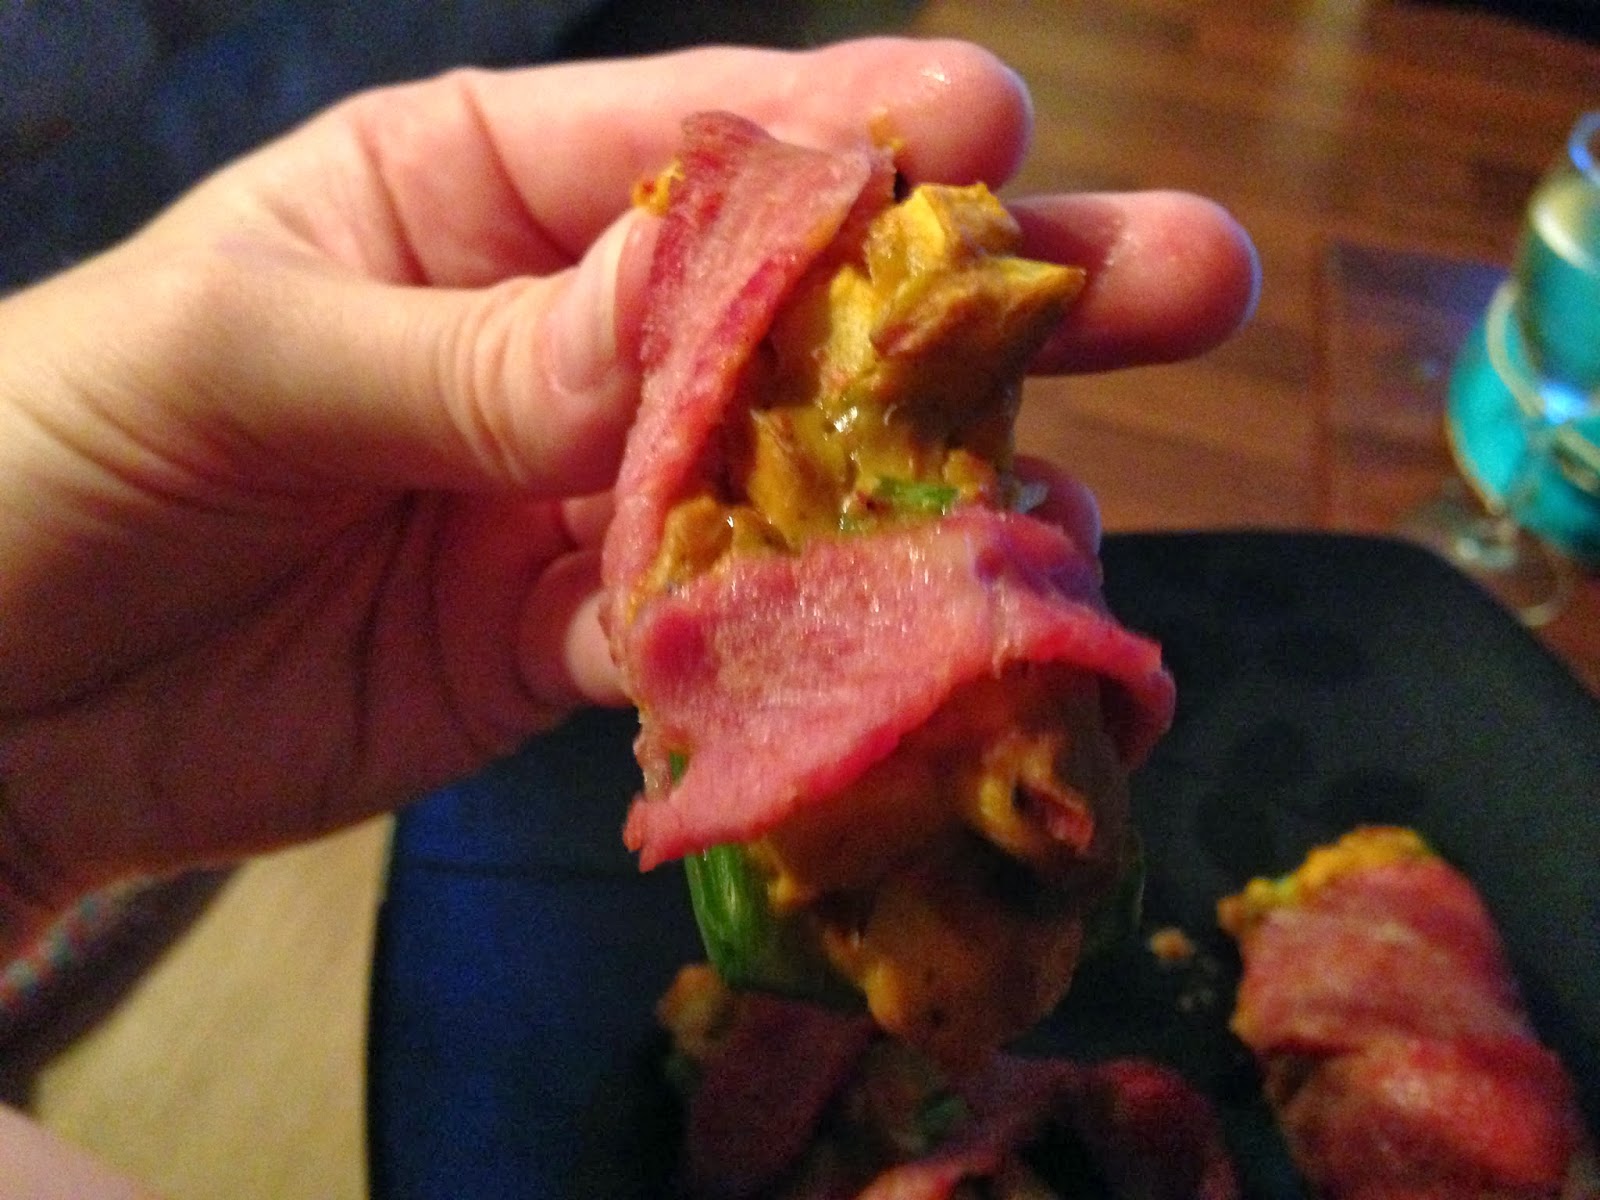
Poppyseed bagel topped with ricotta, capers, fresh spinach, sliced hard boiled eggs, dijon honey mustard sauce and smoked salmon... YUM!?!?
I also ate whale (no idea why, since earlier that day I had seen a whale's penis...), goose, and puffin.  Yes.  Puffin.
Mink whale... It tasted like a cross of ahi tuna and filet mignon, with soy sauce and a wasabi cream and pickled red onion (courtesy of Fish Market in Reykjavik) 
A fabulous goose salad with berry dressing, which was very sweet. The goose was an interesting dark meat, but lacked flavor. (courtesy of Goya's tapas in Akureyri)
A stunning plate of puffin... Which was definitely bird but also gamey meat.  Had a delicious red currant sauce, which really pared so well (courtesy of Fish Market in Reykjavik)
So fabulous food!!  As well as delicious beer... Gull (pronounced like "Gulkch" or something like that, which I was unable to pronounce)...


...want to hear a funny story about beer, and alcohol in general, in Iceland?  Sit down.  This one might take you by surprise (it for SURE was surprising to me!!!).

Icelanders agreed to prohibition in 1908, which apparently shocked the government, as they didn't enact any laws to ban alcohol until 1912.  And in that law in 1912, they gave Icelanders until 1915 to drink all the remaining alcohol.  Unlike United States citizens, who dumped beer and liquor into rivers when prohibition was ratified, Icelanders enjoyed themselves tremendously for several years.

My tour guide, a gorgeous tall blonde named Olaf (who is actually a she, not a he) described the next stage in Iceland's alcoholic history.  "In 1921, the Spanish informed Iceland that they would no longer import fish from Iceland if Iceland did not import Spanish wine.  So if you were stumbling down the street, and a police officer stopped you saying What's going on here?!? And you produced a bottle of wine with 'Spain' on it, the policeman would Oh, ok!  Carry on then!" 

Icelanders finally gave up the charade and in 1935 spirits were legalized.  But not beer.  Beer was not allowed as it was cheaper than liquor, and thus, some random politician argued, more people would be able to afford it, and thus the devil would tempt everyone. Icelanders circumvented this by making their own beer.  How did they do this?  By taking non-alcoholic beer and pouring vodka in.  Which my tour guide demonstrated, and of course, made us taste it… horrible.  I don't know how Icelanders survived.  It tasted like watered down vodka with a hint of beer…

"Sure, you can't drink beer, but Vodka?  Go right ahead!  Shot contest!" Olaf teased…

Finally, March 1, 1989 – 54 years after spirits were legalized -- beer was finally legalized.  It caused so much press that New York Times wrote an article about it and news crews from all over the world flew in to cover the celebration.  What else happened in 1989?  The Berlin Wall fell.  Pretty good year, right?!

End of story.  You're welcome. 

In addition to visiting Reykjavik, I also visited Akureyri, which is in Northern Iceland.  Stay tuned for Part 2 of my incredible trip to Iceland!!

Wednesday, August 27, 2014

Hang out at the Metropolitan Museum of Art's Rooftop Bar

So... I finally did it.

I FINALLY made it to the Met's rooftop bar.

I lived in the NYC metro area for 9 years and never made it... but, one visit back to NYC and I finally had the experience!

I went back to visit this past August - part work and mostly fun - and re-lived some of the best reasons why I love NYC.  I took a cooking class, flying trapeze lessons, visited museums, watched a play, ate so much delicious food...

...And I tackled an item on my bucket list. I had a drink at the Met's Rooftop Bar!

But first, I figured I should check out some of my favorite artworks so I could be "cultured" before indulging in a beverage...

Monet was one of my first favorite artists (and since 3rd/4th grade, I grew to love and appreciate many, many more artists...)

So of course I took a selfie with a Monet.

But I also love and appreciate sculpture, so here is my attempt at recreating a pose...


But seriously?  30 minutes of browsing through a few galleries and I couldn't wait any further... so up to the rooftop we go!


And what a beautiful day it was!!!

Yay!  I made it!!!!
The roomie (former) and I had to take selfies together.  We look awesome.


It was one of those magical days in NYC.  View of a park, but in the middle of a city with taxi cabs and buses honking at each other, while enjoying delicious beverages with friends out in the sun and feeling like LIFE IS GOOD.  If you're looking for a fun afternoon (during the summer months only!), I highly encourage a day spent at the Met and their rooftop bar.

Full disclaimer: I might have had two drinks, not one...  but whatev :)  When in Rome, right?

Wednesday, May 21, 2014

Coffee spice rubbed flank steak with caramelized onion and date compote - PALEO friendly!

I love Food Network.  There are certain shows that I DVR to ensure that I don't miss a fabulous recipe.  One of the shows I watch religiously (even repeats) is Aarti Party, hosted by Aarti Sequeira, the Season 6 winner of The Next Food Network Star.  She is a fabulous, fun chef who fuses traditional Indian flavors into all her cooking, whether traditional Indian or not.  And I LOVE it.

I've made a few of her more traditional recipes before, but this time, I decided to try her recipe for "Giddy-Up Steak with Onion-Date compote". I barely altered her recipe - I did not use brown sugar in the rub, and I did not miss it! This recipe is FABULOUS and I will definitely make this again.  You have this fabulous coffee spice mixture over a succulent piece of delicious flank steak, and top it with a savory and sweet caramelized onion mixture with decadent dates?  Yes. 

Meaty and sweet.  My new favorite combination!


Here's how I made this delicious Coffee-spice rubbed flank steak with caramelized onion and date compote (and yes, I changed the name because I'm not as creative as Aarti! :) )

I started by caramelizing the onions, because you need time to properly caramelize the onions.  So I sliced the onions (4 large yellow onions), added EVOO to a large skillet, and once the oil was hot enough, added the onions and a bit of salt.  Stir, coating the onions with the oil, and reduce heat to low.  Cover the skillet and let the onions sweat it out!  Stir every now and then, and if the onions have too much water, take the lid off and cook off some of the water.  You'll end up cooking the onions for 45 minutes or so.

While the onions are cooking, now you pit and mince your dates.


While the onions are cooking away, make your spice rub.  Combine chile powder, ground coffee, coriander powder, ground black pepper, kosher salt, and garam masala together, stirring so everything is well combined.  

****Side note on the ground coffee: I don't drink coffee.  But this past winter while in upstate NY, I actually tried a cup (it was 9 degrees outside with a windchill of well below 0), and it was this fabulous K-cup by Donut House - the flavor was Chocolate-Glazed Donut, and I actually liked it.  So my Dad bought a Keurig machine for my apartment so he could have a hot cup of coffee when he visits, and so I bought my own K-cups, and yay was that lucky, because that's what I used and the chocolate flavored coffee makes this recipe even MORE fabulous!!!! End of side note****
Pour half the rub mixture over 1 side of the flank steak and massage into the meat. Turn the steak over and pour the other half over the meat and massage in. Set aside for the remainder of time it takes to cook the caramelized onions.


When the onions are caramelized, add the dates, balsamic vinegar, and water. Stir and cook, covered, for another 15 minutes.


Next, heat your grill pan (or a real grill if you're that fancy) over medium heat and coat heavily with Pam spray (or similar).

Once the grill pan is nice and hot (oil lightly smoking), throw your rubbed-down meat on. If the pan doesn't sizzle when the meat comes into contact, it's not hot enough.  Important to get that heat so the spice rub stays on and forms a crust.  After 4-5 minutes of cooking, flip the steak over, and cook another 4 to 5. Remove from grill pan to a cutting board, and allow the meat to rest for 5 minutes.


Slice the flank steak, spoon a healthy portion of the onion-date compote on top, and INHALE.  Go back for seconds so you can appreciate the flavors!!!


YUM!  Click here for a printable version, or continue reading below!

Giddy-Up Steak with Onion-Date compote
Recipe slightly altered from Aarti Party

Ingredients
2 tablespoons chile powder
1 tablespoon ground coffee - HIGHLY recommend using Donut House's Chocolate Glazed Donut... that chocolate taste just makes this rub even more phenomenal!
1/2 teaspoon coriander powder
1/2 teaspoon coarse ground black pepper
1/2 teaspoon kosher salt
1/4 teaspoon garam masala
1 (2-pound) flank steak
2 tablespoons olive oil
4 large onions, sliced very thinly
Kosher salt
8 dates, pitted and minced
1 tablespoon balsamic vinegar
1/2 cup water
Pam spray

Directions
1.  Heat the olive oil in a very large skillet over medium heat. Once the oil is shimmering (not smoking), add the onions, a pinch of salt, and stir to coat with oil. Cover and reduce the heat to low. Cook, stirring occasionally, until the onions turn a deep caramel color, about 45 minutes.  If too much water, cook the onions without the lid to let some of the water cook off and to get a nice brown color on the onions. 
2. Meanwhile, in a small bowl, combine all dry rub ingredients (chile powder, ground coffee, coriander powder, ground black pepper, kosher salt, and garam masala) and stir together.
3. Pour half the mixture over 1 side of the flank steak and massage into the meat. Turn the steak over and pour the other half over the meat and massage in. Set aside for the remainder of time it takes to cook the caramelized onions. 
4. When the onions are caramelized, add the dates, balsamic vinegar, and water. Stir and cook, covered, for another 15 minutes.
5. Warm your grill or grill pan over medium heat and coat heavily with Pam spray (or similar).
6. Once the grill pan is nice and hot (oil lightly smoking), throw your rubbed-down meat on. If the pan doesn't sizzle when the meat comes into contact, it's not hot enough.  Important to get that heat so the spice rub stays on and forms a crust.  After 4-5 minutes of cooking, flip the steak over, and cook another 4 to 5. Remove from grill pan to a cutting board, and allow the meat to rest for 5 minutes.
7. Slice the flank steak, spoon a healthy portion of the onion-date compote on top, and INHALE.  Go back for seconds so you can appreciate the flavors!!!

Thursday, March 27, 2014

Bacon wrapped jalapeno apple poppers

Who doesn't love jalapeno poppers?  People who hate spice, and cheese, and life, apparently. (I'm teasing!!) And, sadly, me, but not due to their taste... most bar jalapeno poppers are caloric bombs due to the cheese, the breading, and, of course, the deep fryer.  Sigh.

But that doesn't mean I can't enjoy a fabulous spicy bite of jalapeno with some "cheesiness".  Especially when it's wrapped in bacon.  And especially when it is relatively healthy!

Introducing my Paleo-friendly bacon-wrapped jalapeno "poppers". Inspired by this "Bacon-Apple-Jalapeno Pop 'Ems" recipe from Aarti Sequeira, I performed a makeover of the recipe to be Paleo friendly.  My one dilemma?  What to stuff these puppies with, since cheese is not strict Paleo.  And a light bulb went off when I remembered one of my favorite recipes where I learned a technique for how to turn avocados and roasted red peppers into a mock-cheddar cheese dip.  

Boom.

A brilliant idea was born.

Here's how I made these simply delicious Paleo bacon wrapped jalapeno "poppers"!

Start by making the "cheese"-filling.  Combine 1/2 a 14 oz jar of roasted peppers with 2 ripe avocadoes, top with a healthy dose of garlic powder and onion powder, as well as salt and pepper, and blend in a food processor until smoooooth....


Then, scoop into a bowl, add chopped Granny Smith apples and scallions, as well as more salt and pepper if desired, and mix together...


...next, prepare the jalapenos.  Remove the top, halve them, and remove the seeds and ribs (please, for the love of all that is nice, please do not do this step without protection for your hands... otherwise, the oil from the jalapeno seeds will burrrrrn you and it's NOT fun, trust me).  Now, you can stuff each jalapeno half with the apple-"cheese" mixture...


...then wrap with half a slice of turkey bacon...


...place on a Pam-sprayed, foil-lined baking sheet and pop into a 375 degree oven for about 30 minutes until all nice and crispy...


...CONSUME with zest!!!! Expect yumminess :)


Continue reading for the recipe, or click here for the Printable version.

Paleo Bacon-wrapped jalapeno "poppers"
Recipe inspired by Aarti Sequiera and Juli Bauer of PaleOMG!

Ingredients
2 avocados
½ 14oz jar of roasted peppers
1 teaspoon garlic powder
1 teaspoon onion powder
½ teaspoon black pepper
¼ teaspoon salt
½ lemon, juiced
3 large scallions, roots sliced off, green and white parts minced finely
1 large Granny Smith apple, cored and minced
20 jalapenos
20 strips thin-sliced turkey bacon, chopped in half

Directions
1. Preheat the oven to 375 degrees F. Line a baking sheet with foil.
2. Make your "cheese" sauce. Place avocados, roasted peppers, onion powder, garlic powder, salt, pepper and lemon juice in a food processor and puree until smooth.
3. In a large bowl, place the "cheese" sauce, add the scallions and apples, and season with salt and freshly ground black pepper if desired.
4. Slice off the stems, and slice each jalapeno in half lengthwise. Remove the membranes and seeds.
5. Fill each jalapeno half with the cheese mixture; fill until just over the rim of the jalapeno. 
6. Wrap each pepper with a bacon half.
7. Place each "popper" on the prepared baking sheet and pop into the oven for 30 minutes. 
8. Allow to cool for about 5 minutes.
9. Devour!!!!

Thursday, February 13, 2014

Devils on horseback - Paleo friendly!

Devils on horseback.  Let the name sink in for a second.  What does that even mean??? 


Well let me tell you, even though these delicious bites are oddly named, they are quite phenomenal AND perfect to wow friends at a cocktail party. A decadent, satisfying bite that is simultaneously sweet, savory, crunchy and bacon-y.  And even better, they pair SO well with a nice full-bodied red wine! You're welcome :)

Thanks to Chef Jonathan Sawyer's "Devils on Horseback" recipe.  With just six easy ingredients, this recipe is super easy, yet jam-packed with a SUPER punch of flavors and ingredients that you would not normally think should go together.


Here's how I made them:

Preheat oven to 300 degrees, and line a baking sheet with foil and lightly spray with Pam spray (or similar).

Cut a sliver in one side of a date, removing the pit.  Halve a jalapeno, removing the seams and seeds, and slice into thin strips.  Cut bacon strips lengthwise into halves.  Chop up a bar of dark chocolate into strips.

You're done with prep.  Seriously, easy.


Now, assemble.  Stuff sliced almond(s), jalapeno strip, and chocolate into a date, top with salt, close date around the stuffing....


...and then wrap bacon around date.  Place on baking sheet...


...repeat...


...Pop in a 300 degree oven for 5-7 minutes until bacon is slightly cooked...


...and serve IMMEDIATELY, preferably with a beautiful glass of red wine.  Note that these are rich and decadent, so just one and you're satisfied!  Although no judgement if you go for more ;)

Continue reading for the recipe or click here for the Printable version:

Devils on Horseback
Recipe slightly adapted from Chef Jonathan Sawyer


Ingredients:
12 strips of bacon (I used organic turkey bacon, sliced in half)
24 dates, pitted
1-2 jalapeno, seeded and sliced into small strips
24-48 sliced almonds (depending on size)
72% dark chocolate squares, sliced into slivers
Coarse sea salt

Directions:
1. Preheat oven to 300 degrees.
2. Line a baking sheet with foil and lightly spray with Pam spray (or similar)
3. Stuff each date with a slice of jalapeno, 1-2 sliced almonds, dark chocolate and a sprinkle of sea salt.
4. Close date if possible, wrap in one slice of bacon, and place on baking sheet.  Repeat until all dates are stuffed.
5. Bake for 5-7 minutes until bacon is slightly cooked.
6. Serve immediately, preferably with a beautiful glass of red wine.  Note that these are rich and decadent, so just one and you're satisfied!

Wednesday, January 1, 2014

All time favorite - Tex-mex inspired turkey with peppers and onions

Get ready: You're about to read one of my all time favorite quick and easy meals to make. It's an incredibly flavorful, amazing dish with a very uninteresting name... But it is SO GOOD, AND easy to make. Boom.

Plus, it's a great way to eat your veggies.  After evaluating my diet recently, I realized I was eating too much meat, and not enough fruits and veggies... So I love recipes like this one because they are PERFECT one-dish-wonders of yumminess that also provide the additional veggies that my body needs.

So without further ado, here's how I made my Tex-Mex inspired turkey with peppers and onions:

Start by heating olive oil over medium-high heat in a large pan, then add chopped onions and stir, cook for several minutes...


...then add diced peppers, stir, and allow to cook for several more minutes...


...to hurry the process along, cover the pan for a few minutes.  Next, move the cooked veggies to the side of the pan, and then add the ground turkey in, breaking it up and allowing it to cook...


...once it's cooked enough, and you've broken the meat down into little chunks, stir the veggies in, and finish cooking the meat...


... next, add the spices (in this image I cheated and used a taco seasoning packet that I had in my cabinet... don't do that.  Too much sodium, plus I give you the best taco seasoning recipe below!)...


...stir, coating all the meat and veggies in the yummy spice mixture until well mixed.


Voila.  Pretty darn easy, huh?

You can top this with fresh cilantro, avocado, salsa or sour cream (if you're not strict Paleo), but honestly it doesn't need it since you have all that great flavor from the spices.

(Sorry I don't have a pretty after photo of the finished recipe - I ate it too quickly!)

Continue reading for the full recipe and click here for the Printable Recipe:

Kimmy's Tex-Mex turkey with peppers and onions
Serves 3-4, prep time: 10 minutes, cook time: 10 minutes
 
Ingredients:
1 T EV olive oil
1 medium red onion, diced
1 red bell pepper, seeded and diced
1 green bell pepper, seeded and diced
1 lb lean (93%) ground turkey
1 T chili powder
1 t garlic powder
1 t onion powder
1 t crushed red pepper flakes
1 t dried oregano
1 t paprika
1 t ground cumin
1 t salt
1 t pepper

Directions:
1.  Heat olive oil in a large pan over medium-high heat.  When heated, add onion and saute for 3-5 minutes until starting to turn translucent.
2.  Add peppers, stir, and cook for one minute.  Place lid over pan and cook for 2-3 more minutes until peppers start to cook.
3. Stir the peppers and move them to one side of the pan.  Add ground turkey, breaking it up and start cooking.  Stir turkey around after 2-3 minutes, continuing to break it down into little pieces.
4. Once ground turkey is starting to cook, mix in peppers, and continue until the meat is cooked all the way through.
5. Add all the spices in - I like a LOT of flavor, so I doubled the spices - if that's too much for you, half it.
6. Stir to combine, letting the juices from the meat and veggies coat the ingredients well.
7. Scoop a bunch onto a plate.  You can feel free to add salsa, sour cream (if not going Paleo) and/or guacamole.  ENJOY!!!


Also... Now taking applications for a better name for this fabulous dish!!!