Key lime pie is a well-known Florida dessert. It’s on almost every decent Florida/seafood
restaurant's menu. Its tart, sweet, creamy, delicious – and similar to a pina colada,
evokes memories of being on vacation. I made this amazing key lime pie 5 years
ago, and have made it several times since, to great praise from family and
friends.
So where am I going with this? Well, Thanksgiving was a few weeks ago, and I had bought fresh
cranberries to make a homemade cranberry chutney that did not end up getting made. Turns out, they last a while in the fridge, so when I was rooting around the veggie drawer and found the bag of cranberries, I realized I needed to find a recipe to highlight them. Naturally I opened Pinterest and searched for
Cranberry recipes. And I came across this Cranberry Pie recipe, and realized it was similar to Key Lime Pie, but with a holiday twist... and thus PERFECT for a Florida-fied Christmas.

Late last night, I baked the pie crust and made the filling,
and tonight, my family and I feasted on an amazing (early) Christmas dinner,
complete with Cranberry Key lime Pie for dessert.
It is sweet…tarte…festive…and just the right mix of
Christmas/cranberry and Florida/Key West Key Lime Pie. It was the perfect
Florida-fied recipe for a festive holiday dinner!
It wasn’t that hard to make, either. It did take time, as several steps required
cooling before proceeding, so definitely plan on down
time while making this recipe. I made this the night before, and then let it
chill in the fridge all day, and it worked out great, but the recipe says you
only need to let the filling chill for 2 hours, so theoretically you can also
make it the morning of/afternoon of.
So without further ado, here is how I made this lovely
Florida-style Cranberry Key Lime pie!

First, make the pie crust. In a food processor, pulse the graham cracker cookies
until very finely ground. Add pecans to
food processor (or if you are like me and have a mini food processor, remove
graham cracker, place in a bowl, and then add pecans). Pulse until finely
ground.

Add melted butter and brown sugar and pulse to combine. (This is the
step where I then removed half the pecans, put back half the cookies, and added
half the butter and brown sugar to pulse all together… and then removed that
and added the other half to be even).
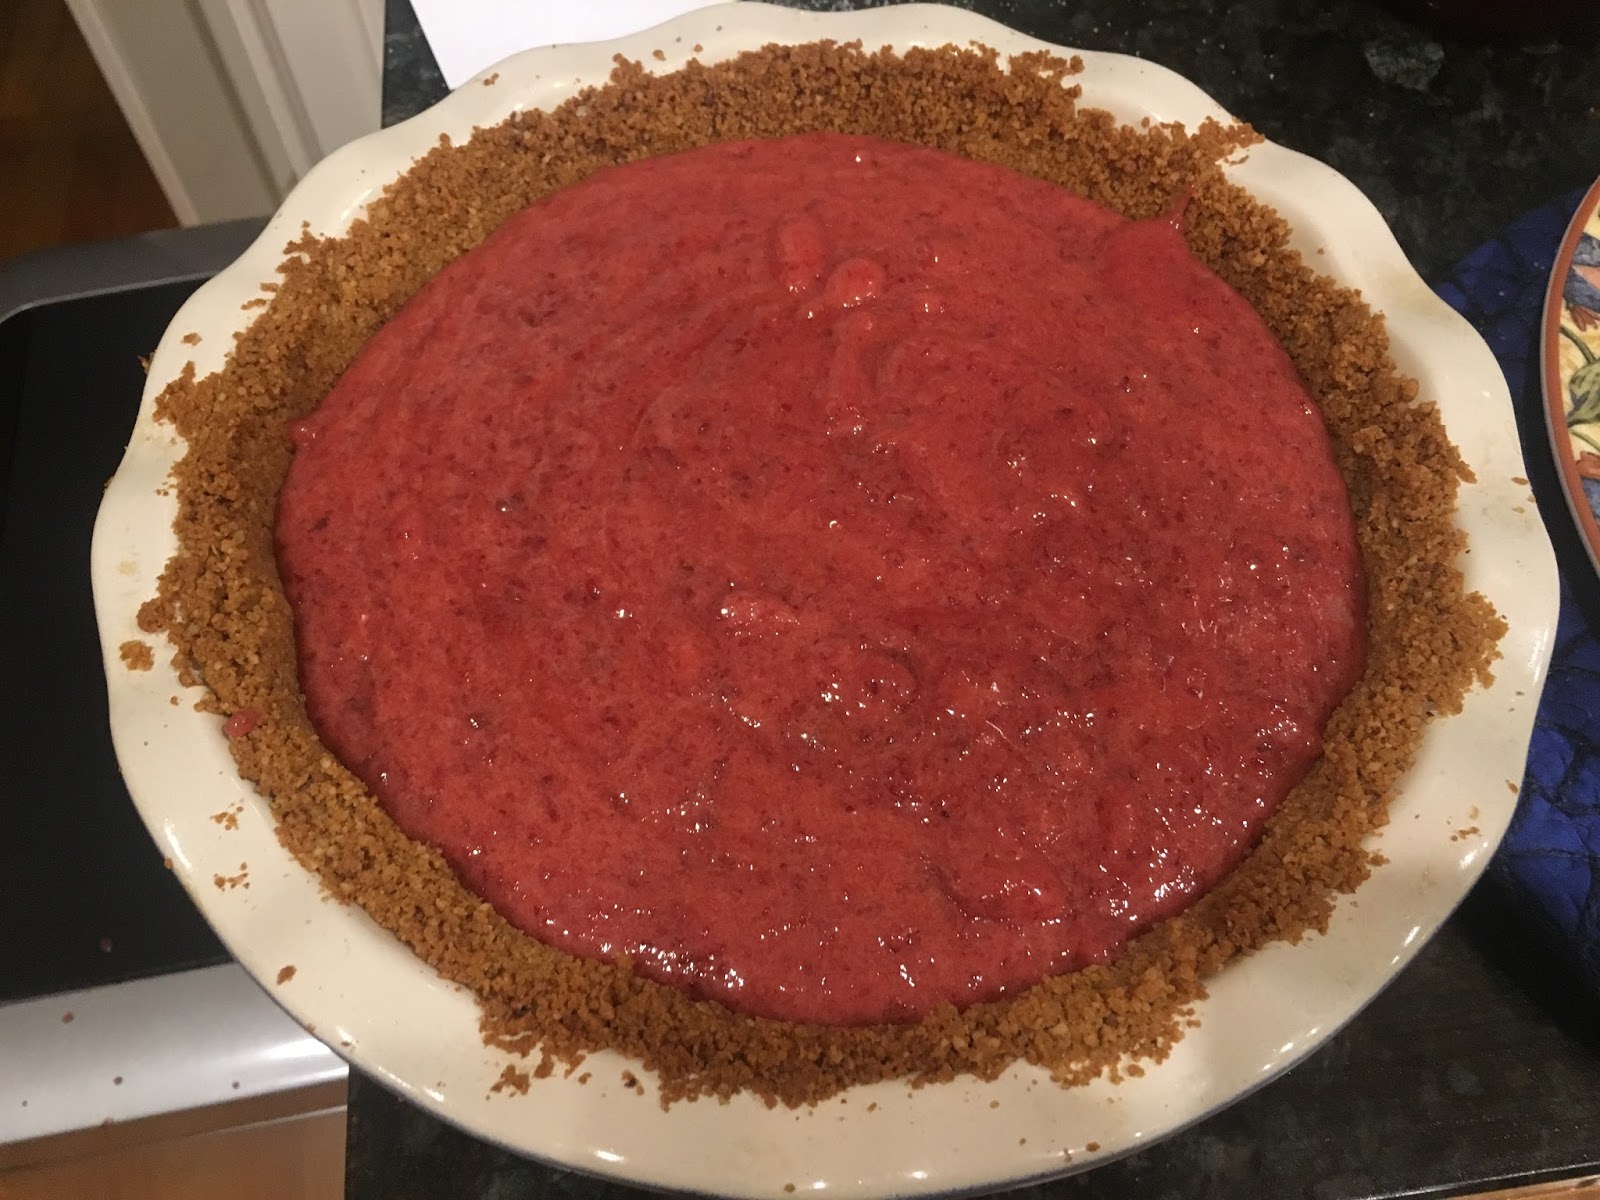
Transfer mixture to 9" pie dish. Press the cookie
mixture firmly onto the bottom and up the sides of the pie dish using a
measuring cup. 


Take a large saucepan with simmering (not boiling) water, and place the heatproof bowl over it (do not let it touch the water, so the bowl should be bigger than the pan).

Take an electric mixer and start beating the curd. Add 1 Tablespoon of butter at a time to the curd, continue beating, until well incorporated. This should take about 5 minutes.
Add the finished mixture into the pie crust, and place in refrigerator for a minimum of 2 hours.

Voila!!
Continue reading for the full recipe or click here for a printable version!
Cranberry Key Lime Pie
Ingredients:
4 ounces
gingersnap cookies (about 16 if using Nabisco)
1 cup pecans
4 tablespoons
unsalted butter, melted
3 tablespoons
light brown sugar
16 ounces fresh
cranberries
2½ cups granulated
sugar, divided
3 large eggs
2 large egg yolks
1 teaspoon finely
grated lemon zest
2 teaspoons finely
grated lime zest, divided
½ cup fresh key lime
juice (from ~24 key limes or ~3 limes)
Pinch of kosher
salt
¾ cup (1½ sticks)
unsalted butter, room temperature, cut into pieces
Directions:
1.
Make the crust. Preheat oven to 350°.
2.
In a food processor, pulse the graham cracker cookies
until very finely ground. Add pecans to
food processor (or if you are like me and have a mini food processor, remove
graham cracker, place in a bowl, and then add pecans). Pulse until finely
ground. Add melted butter and brown sugar and pulse to combine. (This is the
step where I then removed half the pecans, put back half the cookies, and added
half the butter and brown sugar to pulse all together… and then removed that
and added the other half to be even).
3.
Transfer mixture to 9" pie dish. Press the cookie
mixture firmly onto the bottom and up the sides of the pie dish using a
measuring cup.
4.
Bake until firm and slightly darkened in color, 10–15
minutes. Let cool.
5.
Meanwhile, start making the pie filling. Take a large
saucepan and add 12 oz. cranberries, 1 cup sugar, and ¼ cup water over
medium-high heat, and bring to a boil . Reduce heat to the “simmer” setting,
and simmer for another 12-15 minutes until cranberries burst and most of the
liquid evaporates. Let cool for 15 minutes minimum.
6.
Take out a large glass, heat proof bowl. Start juicing your key limes (or limes). About 12 minutes into the cranberries
cooling, add 3 eggs, 2 egg yolks, lemon zest, salt, and 1 tsp lime zest to the
bowl.
7.
Purée the cranberry in a blender until very smooth, and
add to the bowl, mixing it well enough.
8.
Take a large saucepan with simmering (not boiling) water,
and place the heatproof bowl over it (do not let it touch the water, so the
bowl should be bigger than the pan).
9.
Continue stiring the mixture with a spatula, scraping
down sides of bowl often, for about 8-10 minutes. Cool for 7 minutes or so,
until no longer hot but still slightly warm.
10.
Take an electric mixer and start beating the curd. Add 1 Tablespoon of butter at a time to the
curd, continue beating, until well incorporated. This should take about 5
minutes.
11.
Add the finished mixture into the pie crust, and place in
refrigerator for a minimum of 2 hours.
12.
Next, make the topping.
Place 1-2TBSP of granulated sugar, ½ cup water, and remaining 4 oz of
cranberries in a small saucepan, and bring to a boil over medium-high heat.
Reduce heat to the “simmer” setting, and cook for another 10 minutes or so,
until cranberries are bursting. Scoop mixture onto a plate and let chill in the
fridge for a minimum of 30 minutes. Sprinkle with another 1 TBSP of granulated
sugar and 1 tsp lime zest, and add to the center of the pie. Add thin slices of fresh lime if you want
additional decoration.